One of my favorite family traditions is my annual trip home to Oakwood, OH every autumn to make Fall Leaf Cookies with my mom. I have fond memories of sitting together in the kitchen after school, sipping hot cocoa and decorating dozens upon dozens of cookies. Over the past twenty years we have tweaked the recipe several times and thankfully my technique has improved a bit {I can only imagine my first attempts as a six-year-old looked more like a messy art project than vibrant autumnal leaves}. The best part about these cookies, asides from how delicious they are, is that while they look quite impressive are actually incredibly easy!
Showing posts with label Traditions. Show all posts
Thursday, October 30, 2014
Tuesday, December 17, 2013
Recipe :: Winter Almond Bark
I am all for DIY's and recipes that require little work for exceptional results {see the super easy Mason Jar Snow Globes I posted about last week here}. One of my absolute favorite sweets that my mom and I make every holiday season also happens to be one of the easiest recipes, ever -- Winter Bark. I found the recipe in Martha Stewart Living in 2008 and it has quickly become a family tradition. The combination of the sweet white chocolate with the bittersweet {or dark} chocolate and salty almonds {instead of peanuts} is simply perfect. The trick is to use the best chocolate you can find. It is absolutely gorgeous wrapped up in a pretty box as a gift, or on a favorite plate as a snack for house guests. And, did I mention how easy it is?! Seriously, if you like chocolate you have to try it! Recipe below:
Winter Almond Bark
8 ounces white chocolate, chopped
12 ounces bittersweet {or dark} chocolate, chopped
1 1/2 cups salted, roasted almonds
Place white chocolate in a heatproof bowl set over a pan of simmering water, stirring occasionally, until chocolate melts. Remove from heat.
Melt bittersweet {or dark} chocolate in a heatproof bowl set over a pot of simmering water, stirring occasionally. Stir in almonds.
Spread chocolate almond mixture on a parchment-lined rimmed baking sheet. Drop spoonfuls of white chocolate on top, and swirl chocolates with a skewer. Refrigerate until set, about 1 hour. Break bark into large pieces. Bark will keep, covered and refrigerated, for up to 2 weeks. Enjoy!
Monday, November 25, 2013
Recipe :: The BEST Apple Pie, Ever
I cannot believe that Thanksgiving is on Thursday! November has just flown by, and before we know it Christmas will be here too. I am trying to savor every moment of the holiday season, because it always just seems to go by too fast. One thing I look forward to the most about this time of year is my mom's Apple Pie. Seriously, it is legendary. The recipe has been passed down in our family, and as you can see below the recipe itself has definitely seen it's share of spills and dirty fingers. Thankfully my mom made me a new recipe to go inside the cookbook that she made for me when I turned 21 {all hand-written and illustrated...she is the best!} So without further adieu, here is the recipe for {in my humble opinion} the BEST Apple Pie, EVER.
The BEST Apple Pie, Ever
CRUST:
1 1/4 c. shortening {chilled}
3 c. flour
1 teaspoon salt
Approx. 5 tablespoons ice water
1 egg, beaten well
1 tablespoon vinegar
In a large bowl, mix salt and flour. Cut in chilled shortening with two knives until it starts to mix -- blend the rest of the way with a pastry blender until the texture resembles coarse sand. Don't over mix!
Add egg and vinegar, mix with fork. Add ice water, 1 tablespoon at a time, mixing with fork until blended. Dough should be pretty moist.
Form into ball and wrap with plastic wrap. Chill in fridge for one hour. Divide in half - roll out bottom half to fit pie plate bottom and other half for the top.
FILLING:
1 c. sugar
1 teaspoon cinnamon
1/4 teaspoon salt
1 teaspoon lemon rind, grated
1/4 teaspoon nutmeg
3-4 tablespoons flour
7 c. peeled, sliced apples {mostly Granny Smith}
1 tablespoon lemon juice
2 tablespoons butter
Heat over to 400 degrees.
Combine sugar, salt, cinnamon, nutmeg, flour, and lemon rind in a small bowl. Put apples in a large bowl and pour lemon juice over. Mix dry ingredients in with apples, mix well. Taste and add more spices as you see fit.
Pour apples into prepared pie crust. Dot with four or five pats of butter. Put crust on top and pinch the crust with your thumb and first finger from one hand and first finger from other hand. Repeat until crust resembles photo below. If desired, use a little extra dough and a fun cookie cutter to put a few decorative shapes on top {I like to use little leaves or stars}. Draw a happy face with sharp pairing knife, to make sure steam can release from pie.
Bake on middle rack -- 400 degrees for 10 minutes then turn oven down to 350 degrees. Bake for another 40-50 minutes until crust is golden brown and apples are bubbly. Turn once or twice while cooking to ensure all sides are cooked evenly.
Let cool, serve with your favorite vanilla ice cream {I love Jeni's Ndali Estate Vanilla Bean}. Enjoy!
Tuesday, October 29, 2013
Travel :: Camping
Last week I told you about one of my favorite fall traditions, and this week I will be telling you about another - camping. I have been camping since I can remember and has always been one of my favorite weekend getaways. There is something about sleeping in under the stars, cooking your food over an open fire, breathing in the crisp, clean air, and being surrounded by nature in all its glory that seems to hit the refresh button on my life. Being outside is the best way for me to clear my head and reenergize my spirit.
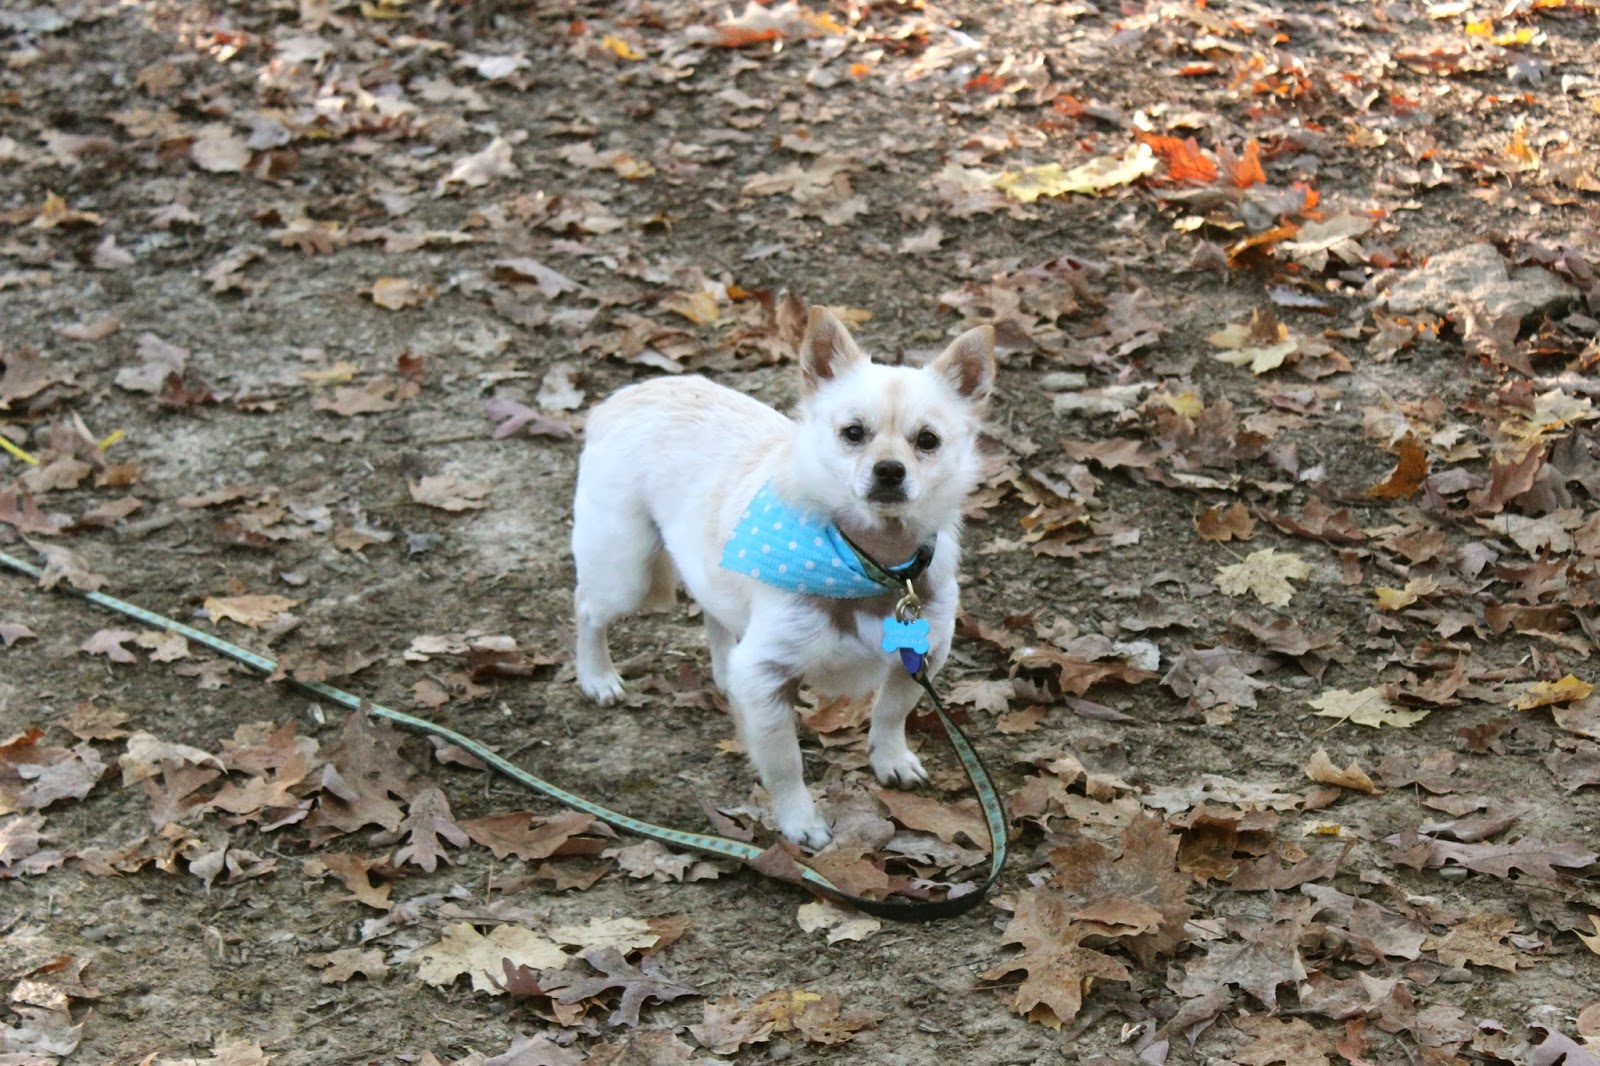
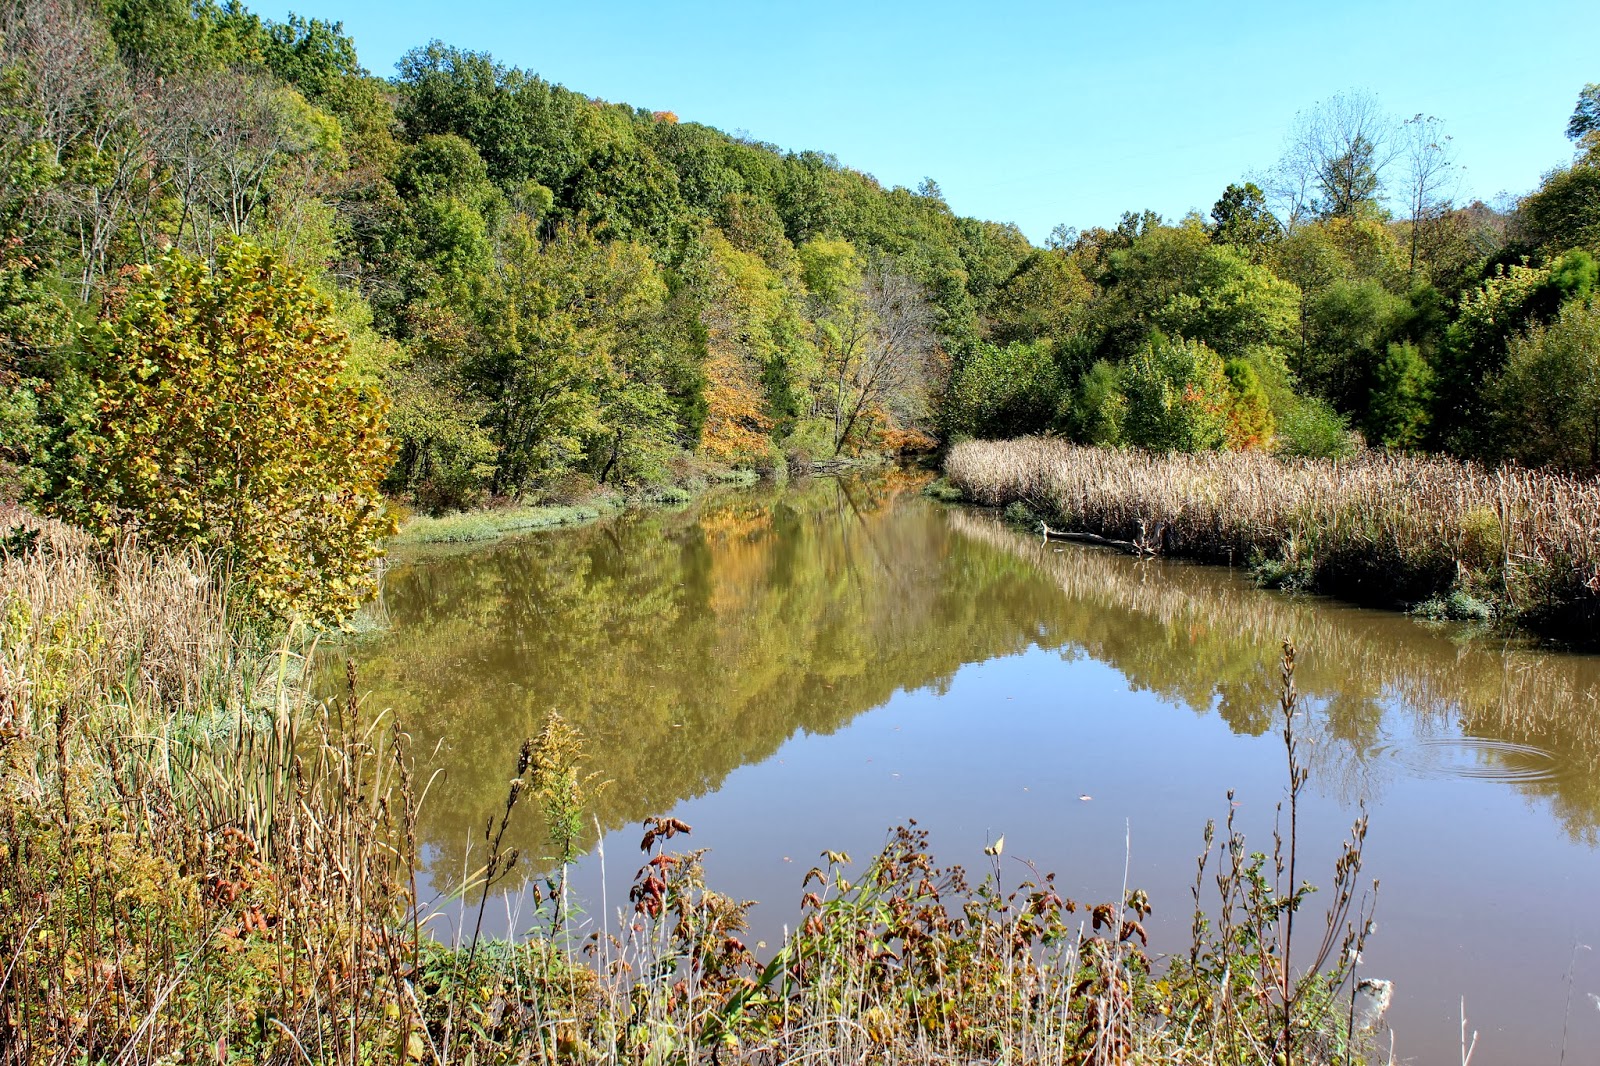
A few weeks ago Ryan, Yoda, and I headed east to Versailles State Park to meet my mom and stepdad. It was a perfect fall weekend - cool and breezy in the evening and warm during the day. The leaves had just started to change and floated gracefully down to the ground like rain. Friday night we cooked pasta, vegetables, and chicken over the fire for dinner {with a drizzle of Truffle Oil I had brought them back from Tuscany - yum!}. Afterwards we sat by the fire and roasted marshmallows, ate smores, and gazed up at the stars. Saturday the boys went mountain biking and my mom and I went on a long hike with our dogs. We had a simple dinner of grilled cheese and tomato soup and spent the last few hours of the night talking around the fire. Sunday morning we gathered our belongings and headed back to the hustle and bustle of the city.
PS - Follow Dreams in HD on bloglovin' here.
Thursday, October 24, 2013
Recipe :: Fall Leaf Cookies
Today I am very excited to share with you my favorite family tradition. My mom and I have been making these cookies {recipe from a 1993 issue of Martha Stewart Living} since I was in first grade. Twenty years later we have made them together every year, minus one {sorry Mom!} These leaf cookies are always a crowd pleaser, I swear every year I make them people tell me I should open up my own bakery. The best part about them is while they are quite impressive to look at they are so so so easy {I know a lot of people say that, but in this case it really is true}!
Fall Leaf Cookies
Makes approximately 40 large cookies, 60 small
COOKIES (Recipe via)
6 egg yolks
4 eggs
2 cups butter, softened
2 1/8 cups white sugar
7 cups all-purpose flour
1 tablespoon baking powder
1/2 teaspoon salt
1 1/2 teaspoon vanilla extract
In a large bowl cream together the butter and sugar until smooth. Beat in the eggs, one at a time, mixing well after each. Add the vanilla. Combine flour, baking powder, and salt - stir into sugar mixture. Cover dough and chill for at least one hour.
Preheat the oven to 375 degrees F (190 degrees C). Grease cookie sheets or cover with parchment paper. On a floured surface roll the dough out to 1/2 inch thick and cut into desired shapes using leaf cookie cutters. Place 2 inches apart on the prepared baking sheets.
Bake for 8-10 minutes in the preheated oven. Allow cookies to cool on baking sheet for 5 minutes before removing to a wire rack to cool completely.
ICING {Recipe via}
6 cups sifted confectioners sugar
6 large egg whites (we use powdered whites, just to be safe)
Almond extract to taste
Food coloring
Put sugar in a mixing bowl. With the mixer running slowly add the egg whites, allowing sugar to absorb them. Add just enough egg whites to get a smooth, slightly liquid consistency (you may not need all 6). Add almond extract and mix well.
Divide icing into small bowls and add food coloring as desired (we typically make red, yellow, green, and orange for these cookies).
ASSEMBLY
We love to play around when decorating these cookies, and since the icing is a nice, smooth consistency it allows us to swirl the icing to create a veiny or ombre-esque effect.
To create our "standard" cookie as photographed below, I typically spread one color on one side and a different on the other, leaving about a quarter inch in the center bare. Using a toothpick add a third color to the center of the cookie. Make sure you use enough icing so all of the colors are easy to swirl and work with. With your toothpick, lightly "pull" the center color through each side, creating the look of veins. Continue until you have reached the desired effect.
Let dry, and watch your friends be amazed!
Subscribe to:
Posts (Atom)